Whether you DJ in packed nightclubs or private circles, your DJ equipment requires some regular maintenance to perform at its best. Dust, dirt, greasy fingers… are your enemy! Let’s see how to clean your controller!
Why should you clean your controller?
DJs usually perform in confined environments where not much free air is flowing, people are sweaty and the humidity level is high. This type of environment is prone to getting your controller clogged up and greasy. Besides, dust and dirt accumulate easily on DJ controllers, and the more it builds up the more difficult it will become to get rid of it.
Reasons you should clean your controller regularly, especially after each performance:
Performance
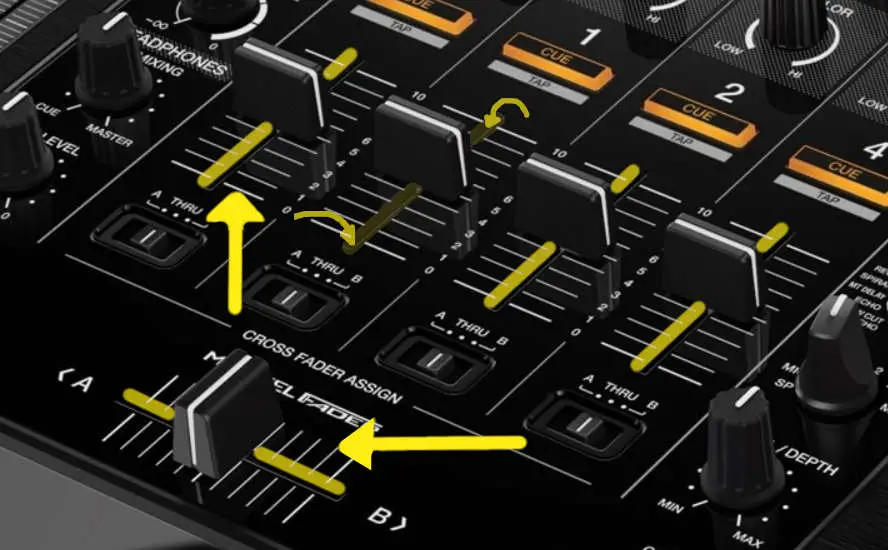
Dirt and dust will tend to accumulate inside the controller through all the little gaps it can find – especially inside the grooves of the faders and around the buttons. It will slowly clog up the controller and generate malfunctions. You might even hear a crackling sound when using the equipment.

A sweaty atmosphere and humidity will also tend to damage electronics easily. Wiping your controller after a gig is essential to remove the moisture built up and prevent accelerated corrosion of the electrical components.
Durability
I am sure you consider your DJ controller valuable: it’s not a burner phone. So unless you are prepared to spend money to replace your controller regularly, the best way to keep your controller last is to follow a regular maintenance schedule.
Look / Appearance
Do you really want to look amateurish? Do not underestimate the importance of look and appearance. A dusty, greasy equipment will not look good and people will notice, even comment about it.
Hygiene
Nowadays we know that infectious bacteria, viruses, yeasts, and mold can survive on surfaces for considerable amounts of time, including on the surface of your controller. These germs spread when in contact with the surface. For instance, the common cold and flu are known diseases that stick on surfaces. So, don’t let them make you sick! A bit of cleaning to remove the risk!
Don’t forget that DJ controllers will gather gunk, skin oils, grease, and sweat, which are more likely conditions to enable pathogen transmission.
When to clean your DJ controller?
Best practice is to give automatically a post-gig wipedown to your equipment. If you don’t have any gigs for a while but are using your equipment regularly, or leave it out in the open, dust will accumulate. In this case, I would recommend cleaning your equipment at least once a week.
What to use to clean your DJ controller?
Your equipment must be treated with care, therefore you need to use materials that won’t damage it: something that won’t scratch it – especially for the LED and plastic indicators, as well as the jog wheels, and something that cannot burn/melt the plastic. You will also need specific tools to reach some small areas.
This is what I recommend you use to clean your gear:
- A microfibre cleaning cloth
This type of cloth is the best way to prevent scratching your equipment as it is a very soft, absorbent, and non-abrasive material. There are different types of microfibre cloth. You are most likely familiar with the ones used to clean glasses. Those ones are thin and even if they work great on your equipment they are a bit too small to bother with them. You can find other types of microfibre cloth which are as efficient, which are more like small towels and a bit more fluffy. This large microfiber is great for instance.
- A soft cotton cloth
Any soft cotton cloth would do, the important thing here is to have something absorbant so you can dampen it. That’s why I recommend something made in cotton which is both soft and absorbant. An old – but clean ! – T-shirt may do the trick for instance.
- Isopropyl alcohol (rubbing alcohol)

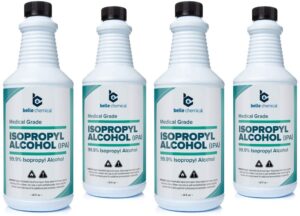
Rubbing alcohol is great to clean electronic devices, especially the ones made with 99% of isopropyl alcohol like this one. Isopropyl alcohol evaporates quickly while killing pathogens from surfaces. It is also great to recover surfaces where spillage occurred. Indeed the isopropyl alcohol will pull the water out and then evaporate, acting as a dryer.
- Compressed air duster or can

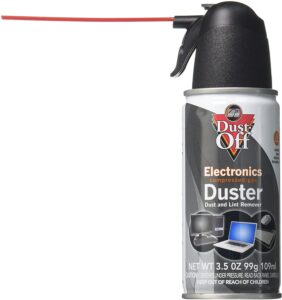
This air can is cheap and handy to get compressed air easily. It is very useful to blow dust in inaccessible areas such as fader grooves. An air duster blower should be more efficient and doesn’t need to be replaced, so it can be a good investment too. Here is one with many good reviews on Amazon: XPOWER A-2 Duster Vacuum.
- Little paint brushes (3/4” is ideal)

How to clean your DJ controller?
To clean your DJ controller, follow these steps:
- Use a soft cotton cloth slightly dampened to wipe down the sweat and grime from your gear, as well as the accumulation of dust and dirt. This will not remove all of it, just the excess. Be gentle when wiping down the controller, avoid the transparent surfaces at this step, as they can get scratched easily. And do not put too much water on the cloth to avoid damaging the electronics.
- Use an air can to remove the dust accumulated in the fader grooves.
- Use a microfibre cleaning cloth to wipe down dust from the entire controller. It would especially be effective on dust stuck on knobs.
- Use a paintbrush to clean the faders and remove the remaining dust stuck. The air can and microfibre would have removed the majority of the dust but may leave dust on the edges of the groove. That’s where the paintbrush comes in.
- Use isopropyl alcohol to remove the germs from your gear. This will work as a disinfectant and a water expeller. Just pour a little bit on a clean microfibre cloth and clean the controller with it.
- Let the controller dry off before putting it in its case.
How to clean the rest of your DJ equipment?
Your laptop might be a bit greasy after a gig. I recommend you use compressed air to remove the excess dust and dirt from the keyboard. Then with a dampened microfibre cloth, wipe down the entire laptop.

